Changing Object Meshes and Materials in Unity
Version: This guide is for Unity 2022.3.6f1. The steps may be different in future versions of Unity.
In Unity, customizing the appearance of objects involves changing their meshes, materials, and material shaders. This guide will walk you through the process of making these changes, providing you with the necessary steps and links to the official Unity documentation for further details.
You might find this information particularly useful when working with some of our prefabs, such as Hash Studios Megaphone Audio, where customization of 3D models is essential.
Changing an Object's Mesh

To change an object's mesh:
-
Select the Object:
- In the
Hierarchywindow, click on the object whose mesh you want to change.
- In the
-
Access the Mesh Filter:
- In the
Inspectorwindow, locate theMesh Filtercomponent.
- In the
-
Assign a New Mesh:
- Click on the small circle icon next to the
Meshfield to open theObject Pickerwindow. - Select a new mesh from the available options, or drag a mesh asset from the
Projectwindow into theMeshfield.
- Click on the small circle icon next to the
For more detailed instructions, visit the Unity Documentation on Meshes.
Changing an Object's Materials

To change an object's materials:
-
Select the Object:
- In the
Hierarchywindow, click on the object whose material you want to change.
- In the
-
Access the Renderer:
- In the
Inspectorwindow, locate theRenderercomponent (e.g.,Mesh Renderer).
- In the
-
Assign a New Material:
- Click on the small circle icon next to the
Materialfield to open theObject Pickerwindow. - Select a new material from the available options, or drag a material asset from the
Projectwindow into theMaterialfield.
- Click on the small circle icon next to the
For more detailed instructions, visit the Unity Documentation on Materials.
Changing an Object's Material Shader

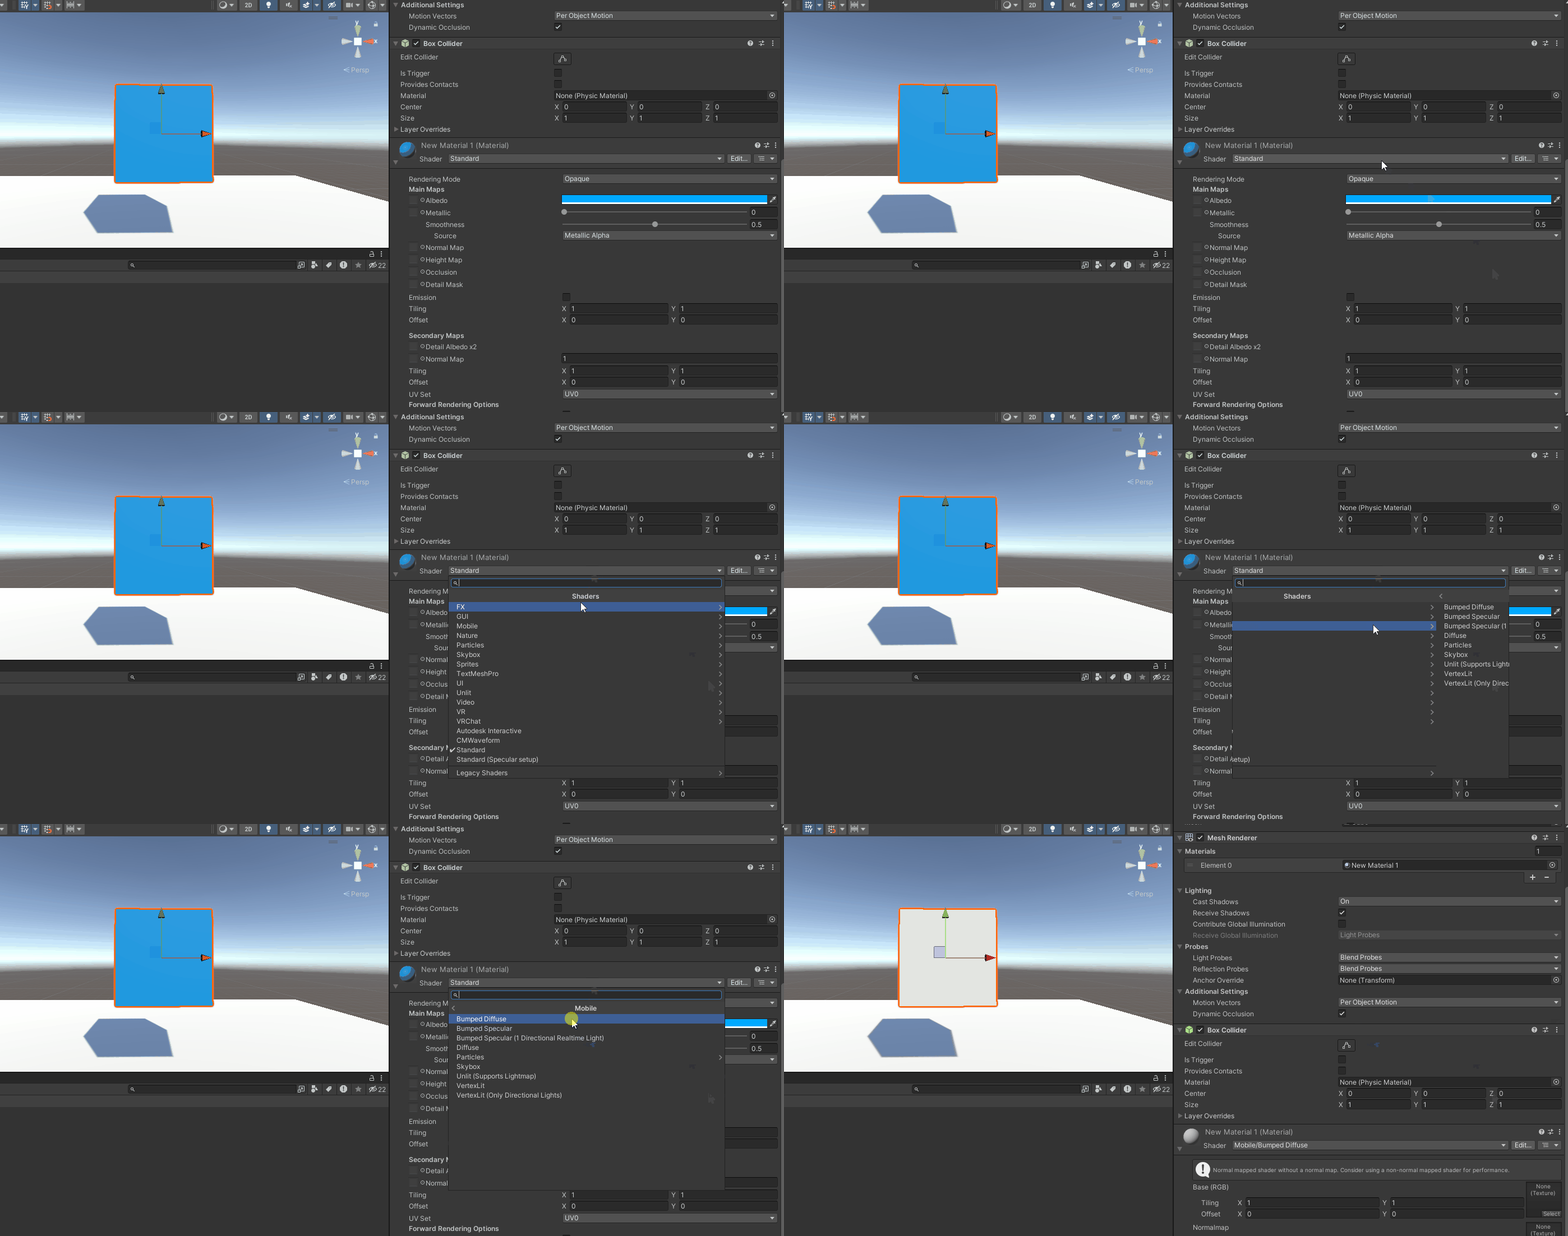
To change the shader used by a material:
-
Select the Material:
- In the
Projectwindow, locate and click on the material you want to modify.
- In the
-
Access the Shader Dropdown:
- In the
Inspectorwindow, locate theShaderdropdown at the top of the material properties.
- In the
-
Choose a New Shader:
- Click on the
Shaderdropdown to view available shaders. - Select a new shader from the list.
- Click on the
For more detailed instructions, visit the Unity Documentation on Shaders.
By following these steps, you can effectively customize the appearance of objects in Unity, enhancing the visual quality and thematic consistency of your projects.